
As an Amazon Associate, I earn from qualifying purchases
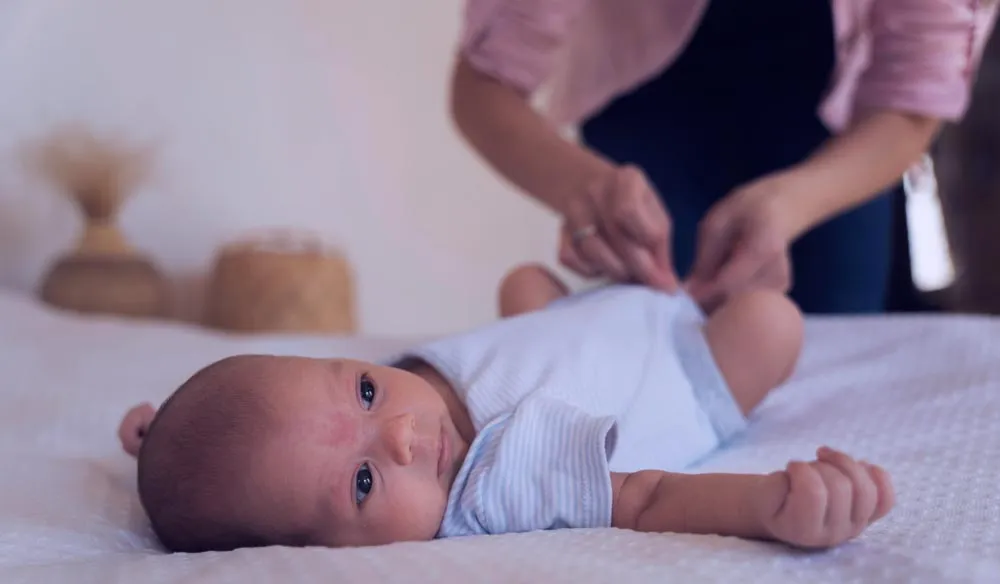
The Art of Proper Diaper Changing
Changing diapers is not just a routine task; it’s a crucial aspect of caring for your baby’s comfort and health. Mastering the art of proper diaper changing ensures your little one stays clean, dry, and free from diaper rash. In this comprehensive guide, we’ll delve into the step-by-step process of changing your baby’s diaper with care and confidence, making it a nurturing experience for you and your baby.
Step 1: Gather Your Supplies
Before you embark on the diaper-changing journey, gather all the essential supplies: clean diapers, wipes, diaper rash cream, and a comfortable changing surface.
Step 2: Choose a Safe and Comfortable Location
Select a secure and comfortable location for diaper changes, such as a changing table or a padded surface on the floor. Ensure the area is free from hazards and within easy reach of your supplies.
Step 3: Wash Your Hands
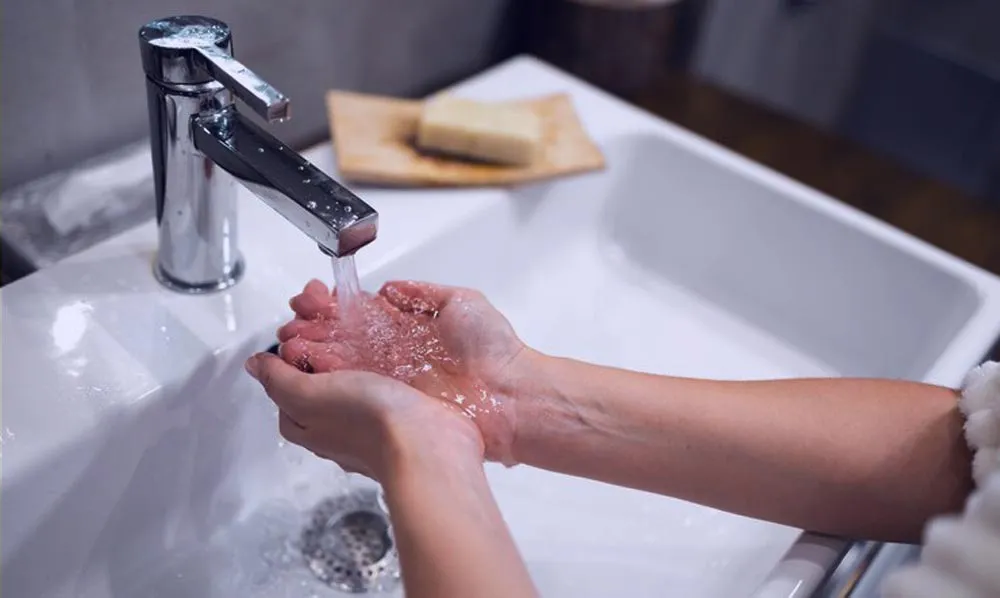
Before you begin, wash your hands thoroughly with soap and water to prevent the spread of germs. Proper hand hygiene is essential for maintaining your baby’s health.
Step 4: Lay Your Baby Down
Gently lay your baby down on the changing surface, supporting their head and neck with one hand while keeping the other on them at all times for safety.

Step 5: Remove the Dirty Diaper
Carefully undo the tabs or fasteners on the dirty diaper and fold it back, using the front of the diaper to wipe away any excess stool from your baby’s bottom.
Read More
Wooden Baby Doll Stroller
Best Indoor Toys For 5 Year Olds
Step 6: Clean Your Baby’s Bottom
Use gentle baby wipes or a clean, damp cloth to cleanse your baby’s bottom thoroughly, wiping from front to back to prevent the spread of bacteria.
Step 7: Lift Your Baby’s Legs
Lift your baby’s legs by gently grasping their ankles and raising them toward their chest. This position allows easier access to clean the diaper area and minimizes mess.
Step 8: Slide a Clean Diaper Underneath
Slide a fresh, clean diaper underneath your baby, ensuring the back of the diaper is positioned under the bottom and the front between their legs.
Step 9: Apply Diaper Cream (If Needed)
If your baby has any signs of diaper rash or irritation, apply a thin layer of cream or ointment to soothe the skin and create a protective barrier.
Step 10: Secure the Clean Diaper
Fasten the tabs or snaps on the clean diaper snugly around your baby’s waist, ensuring a secure but comfortable fit. Ensure the diaper is not too tight or loose to prevent leaks.
Step 11: Dispose of the Dirty Diaper
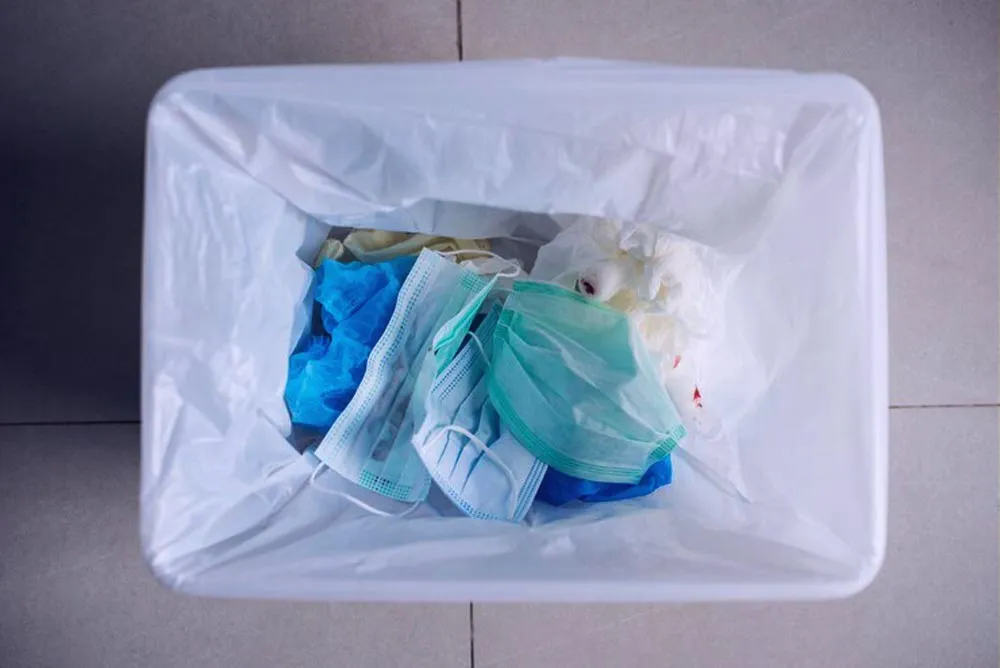
Roll up the soiled diaper and fasten it closed with the tabs or adhesive strips. Dispose of it in a designated diaper pail or trash bin with a secure lid to contain odors and maintain cleanliness.
Conclusion: Nurturing Your Baby Through Diaper Changes
Each diaper change is an opportunity to provide your baby with love, care, and comfort. Following these detailed steps and tips, you can transform diaper changing from a mundane chore into a nurturing experience that strengthens the bond between you and your little one. Remember, patience, gentleness, and attention to detail are the keys to mastering the art of proper diaper changing and ensuring your baby‘s well-being and happiness.
As an Amazon Associate, I earn from qualifying purchases


