
As an Amazon Associate, I earn from qualifying purchases
A Heartfelt Guide to Charging Your Mercedes-Benz Toy Car
Introduction: Igniting Imaginations
In the world of childhood wonder, few things ignite the imagination quite like a sleek Mercedes-Benz toy car. From the moment it enters a child’s life, it becomes more than just a toy—it’s a vessel for adventure, a symbol of freedom, and a source of endless joy. But like all great adventures, the journey must occasionally pause for refueling and recharging. In this guide, we’ll explore the simple yet essential process of charging your beloved Mercedes-Benz toy car, ensuring that the magic never fades and the adventures continue to unfold. 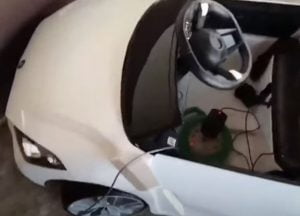
Step 1: Preparation and Safety
Before embarking on the journey to recharge your Mercedes-Benz toy car, it’s important to ensure a safe and smooth experience for both you and your little one. Begin by selecting a flat, stable surface away from water and other hazards. Then, gather the necessary equipment—a charger compatible with your toy car’s battery and a reliable power source. Finally, review the manufacturer’s instructions and safety guidelines to ensure proper usage and precautions.
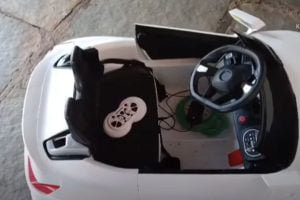
Step 2: Connecting the Charger
With preparations complete, it’s time to connect the charger to your Mercedes-Benz toy car. Locate the charging port—typically located on the rear or underside of the vehicle—and gently insert the charger plug, ensuring a secure connection. Take care not to force the plug or damage the charging port, as this could impact the effectiveness of the charging process.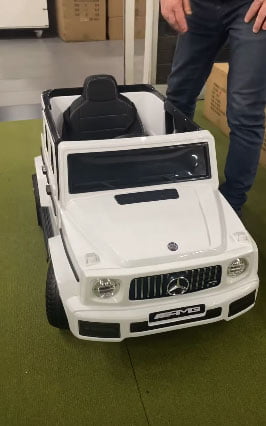
Step 3: Powering Up
Once the charger is securely connected, it’s time to power up your Mercedes-Benz toy car. Plug the charger into a reliable power source—a standard electrical outlet or USB port—and switch on the power supply. As the charging process begins, you may notice indicator lights or sounds signaling that the battery is receiving power. Take this time to marvel at the anticipation of the adventures to come and the joy that awaits your child.
Step 4: Monitoring and Patience
As your Mercedes-Benz toy car charges, it’s essential to monitor the process and exercise patience. Depending on the model and battery capacity, charging times may vary, ranging from a few hours to overnight. Resist the temptation to interrupt the charging process prematurely, as this could affect the battery’s performance and longevity. Instead, use this time to engage in other activities, bond with your child, or simply enjoy the anticipation of the adventures to come.
Read More
How To Organize A Toy Drive
Best Outdoor Toys for 3 Year Olds
Step 5: Ready for the Road
 Once the charging process is complete, it’s time to unleash the magic of your fully charged Mercedes-Benz toy car. Disconnect the charger from the power source and gently remove it from the charging port, taking care not to damage the plug or port in the process. With a full battery and boundless excitement, your child’s toy car is ready to hit the road once more, inspiring laughter, imagination, and unforgettable memories along the way.
Conclusion: Fueling the Spirit of Adventure

In the world of childhood imagination, every moment is an opportunity for adventure, discovery, and joy. By taking the time to charge your Mercedes-Benz toy car, you not only ensure continued fun and excitement for your child but also nurture their sense of wonder, creativity, and connection to the world around them. So, the next time your little one’s toy car needs a boost, embrace the opportunity to unlock the magic and watch as their imagination takes flight once more.
As an Amazon Associate, I earn from qualifying purchases


